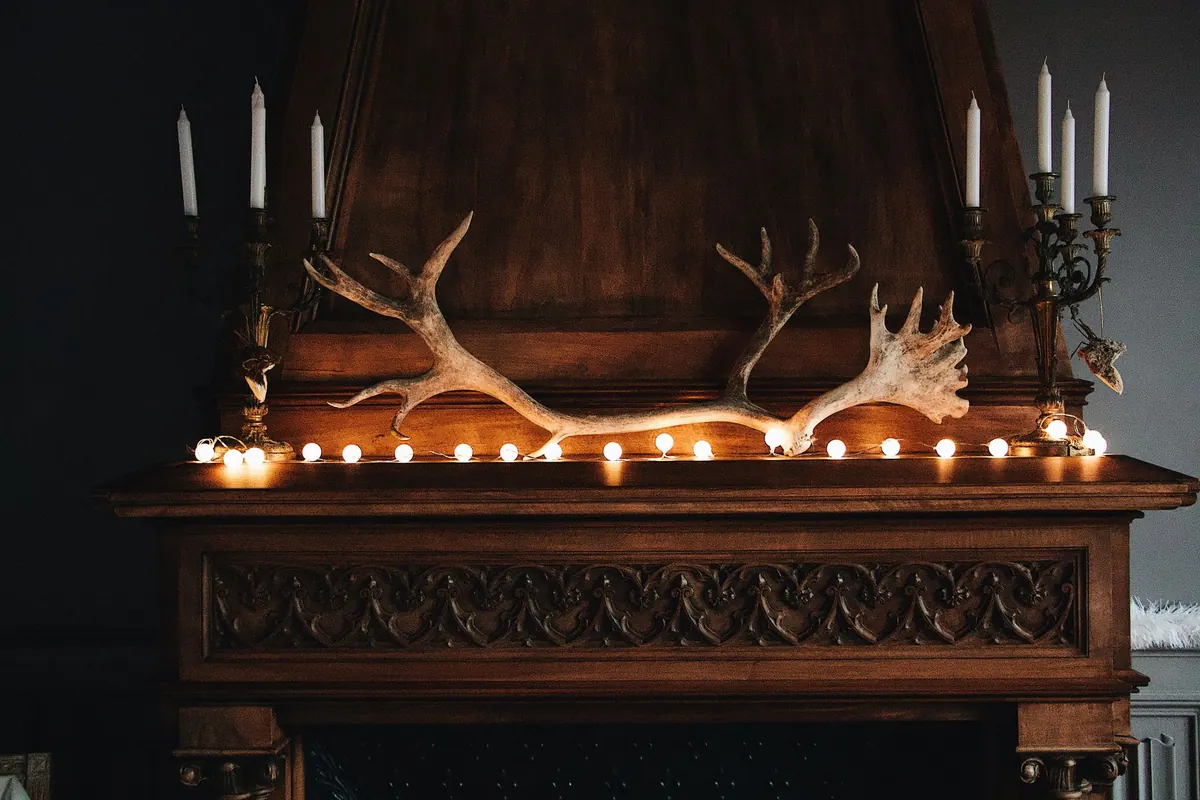
A fireplace surround does a lot of quiet work. It frames the opening, tidies the join between plaster and hearth, and gives the mantel something solid to sit on. Ready-made surrounds in timber or stone cost a fortune, and they rarely suit an older chimney breast that leans a few millimetres in two directions. MDF solves most of that. It's flat, stable, takes paint beautifully, and you can build a full surround for the price of a couple of sheets and a weekend. The one thing it won't forgive is guesswork around the fire itself, so start there.
Get the Safety Side Straight First
MDF is resin-bonded wood fibre. It is combustible, and no amount of primer changes that. Before you measure anything, find the manual for your stove, fire basket or gas appliance and read the clearance figures for combustible materials. Those numbers dictate where your surround can sit. The MDF stays outside them, every time.
If the manufacturer's clearance figure and your design disagree, the design changes. Not the figure.
Where the surround approaches the opening, use non-combustible material instead: slate slips, ceramic tiles, stone, or a metal trim. Fire-retardant paints and treatments are sold as a shortcut, but they only reduce the spread of flame across a surface. They do not make a sheet of MDF safe beside a heat source.
Hearths and fireplaces in England and Wales are covered by Approved Document J of the Building Regulations, with equivalents in Scotland and Northern Ireland. If you're working around a solid fuel appliance and anything is unclear, a HETAS-registered installer or your local building control team will settle it in a short conversation. Worth doing before you cut.
What You'll Need
- 18mm MDF for the legs and head — moisture-resistant (MR) MDF is worth the small extra if the chimney breast has ever been damp
- 25mm MDF, or two 18mm layers glued face to face, for the mantel shelf
- A length of MDF moulding — architrave or a small torus profile
- PVA wood glue, D3 grade
- 40–50mm screws, or pocket-hole screws if you own a jig
- Two-part filler or MDF-specific filler
- MDF primer and a durable satinwood or eggshell topcoat
- Slate, tile or stone slips for the inner edges
- Painter's caulk, 120 and 240 grit abrasive, masking tape
On the tools side: tape measure, spirit level, combination square, circular saw or track saw with a fine-tooth blade, drill/driver, clamps, jigsaw, and a caulking gun. Add dust extraction and a well-fitted P2 mask or better. MDF dust is exceptionally fine and the binder resins are not something to breathe in, so cut outdoors or with extraction running.
Measuring and Planning
Measure the width of the opening at the top, middle and bottom, and take the smallest figure. Do the same for the height. Old openings are rarely square, and building to the largest measurement guarantees gaps.
Next, decide how much the surround should overlap the opening edges. Between 15mm and 25mm each side is usually enough to cover ragged plaster and any old fixings. From there the arithmetic is simple. Say the opening is 900mm wide and your overlap is 20mm each side: the inner width of the surround is 860mm. Add two 150mm legs and the outer width is 1160mm. For height, take the opening height, subtract the same overlap at the top, add the depth of the head, and you have the distance from hearth to the top of the surround.
Then check the wall. Run a level or straight edge down the chimney breast and across the hearth. If the wall is out by more than a few millimetres, plan to scribe the back edges or accept that caulk will do some of the work. Also look for cables and pipework before you drill anything.
Cutting the Parts
You need two legs, one head, and either one thick shelf or two thinner ones laminated together. Cut MDF with a fine-tooth blade at a steady feed rate — forcing it burns the edges and chips the face. A strip of masking tape along the cut line helps, and because a circular saw's teeth exit through the top face, keep the good face downward on the bench. Support the sheet along its full length so it doesn't sag and pinch the blade.
Label every part as you cut it, including which edge faces out. It saves an embarrassing reassembly later.
Assembling the Surround
Dry-fit everything on the floor first. The strongest and cleanest arrangement for most designs is legs running the full height with the head sitting between them, so the shelf has solid timber underneath at both ends.
Mark your joints, then drill pocket holes on faces that will end up hidden — inside the legs, facing the wall. Glue and screw each joint, clamping as you go. Check for square by measuring both diagonals: if they match, you're square. If they don't, ease the clamps and adjust before the glue grabs.
Adding the shelf and moulding
Fit the mantel shelf last. Glue it down onto the head and screw up from underneath, countersinking the heads so they disappear. A 30–50mm overhang at each end looks generous without being top-heavy. Mitre a length of moulding under the shelf and around the inner edge if you want the surround to read as something more traditional, and use the same filler on every joint.
Fire-Safe Finishing
MDF cut edges soak up paint like a sponge, so seal them first with a coat of MDF primer or diluted PVA, then sand lightly once dry. Fill every screw hole and joint with two-part filler, sand flush with 120 grit, then go over the whole surround with 240 grit. Two coats of primer, a light sand between them, then two thin topcoats applied with a foam roller for a finish that looks sprayed rather than brushed.
Paint before you fix the surround in place where you can, then touch up afterwards. Fix your non-combustible slips around the inner edge using an adhesive suited to the material and follow the maker's guidance on heat. Don't use plastic trims anywhere near the opening.
Fitting, Checking and the First Few Fires
Fix the surround to the wall with grab adhesive plus screws into wall plugs, or screw it back into battens if the wall won't hold. Check level and plumb as you tighten. Run a bead of paintable acrylic caulk around the outer edge where it meets the wall, smooth it with a damp finger, and touch in the paint once dry.
Leave the paint to cure properly — a few days in a warm room, with the window open — before you light anything nearby, and expect a faint smell on the first fire or two as the last of the solvent goes off. After that, keep an eye on the timber nearest the opening. Any discolouration, blistering or scorched smell means heat is reaching material it shouldn't, and the surround needs to come back off and the clearances be reconsidered. Do that rather than hoping it settles down. A surround you built yourself should last decades, and the only thing that guarantees it is getting the measurements right and respecting the fire.
Photo: sweetlouise / Pixabay